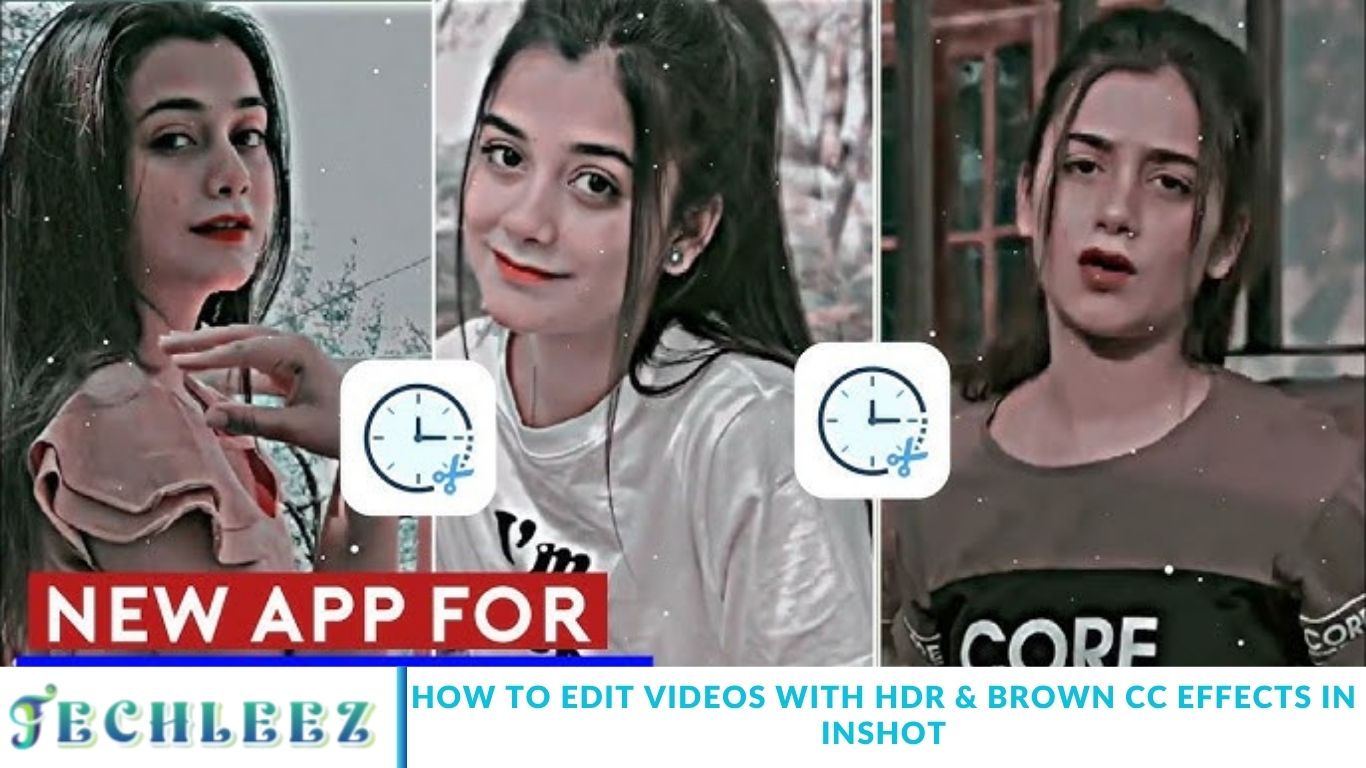
Are you ready to elevate your video editing game? Discover how to apply HDR and Brown Color Correction (CC) effects in InShot to create cinematic and visually captivating content. Whether you’re a professional editor or a beginner exploring mobile video editing, these powerful effects can transform your visuals with rich tones, enhanced contrast, and a polished aesthetic. In this guide, we’ll walk you through how to use HDR and Brown CC effects step-by-step in InShot, helping you produce high-quality videos that grab attention on platforms like YouTube, Instagram, and TikTok.
Explaining the Benefits of Using HDR and Brown CC Effect in Video Editing
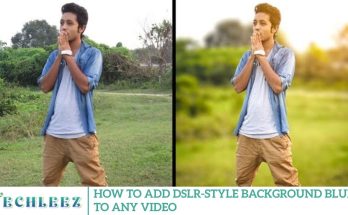
Enhance your video content with the power of HDR (High Dynamic Range) and Brown Color Correction (CC) effects—two essential tools for achieving professional-grade visuals. The HDR effect boosts the dynamic range of your footage, intensifying colors, contrast, and brightness to deliver vibrant, true-to-life imagery. Meanwhile, the Brown CC effect adds warmth, depth, and a cinematic tone, perfect for creating a visually cohesive and emotionally engaging aesthetic.
When you apply HDR and Brown CC effects using a video editing app like InShot, you can dramatically improve the overall quality of your videos. HDR helps reveal intricate details in both highlights and shadows, ensuring your content looks sharp and vivid on any screen. The Brown CC effect complements this by enriching skin tones, enhancing natural scenery, and adding an artistic flair that resonates with viewers.
By integrating these powerful effects into your video editing workflow, you not only increase visual appeal but also set your content apart on platforms like YouTube, Instagram, and TikTok. Whether you’re creating vlogs, cinematic reels, or promotional content, HDR and Brown CC effects will help you deliver high-impact visuals that capture and retain your audience’s attention.
Step-by-Step Guide on How to Use Inshot to Achieve HDR and Brown CC Effect
To achieve the HDR and Brown CC effect in your videos using InShot, start by launching the app and selecting the video you want to edit. Once your footage is loaded, tap on the “Adjust” option at the bottom of the screen to access InShot’s manual editing tools. These settings allow you to fine-tune your video’s visual elements for a professional-grade result.
Begin by enhancing the dynamic range to create the HDR effect. Increase the brightness and contrast slightly, then adjust the highlights and shadows to bring out more detail in both light and dark areas of the frame. This step boosts the overall vibrancy and clarity of your footage, making it more visually appealing across all devices.
Next, to achieve the Brown Color Correction (CC) effect, focus on adjusting the warmth and saturation. Slightly increasing the warmth will add rich, earthy tones to your video, while subtle saturation tweaks will help enhance skin tones and landscapes, giving your video a cinematic, cohesive feel. These settings combined will create the signature warm, high-contrast aesthetic associated with professional color grading.
Once you’ve applied the HDR and Brown CC adjustments, consider enhancing your video further by adding filters, background music, or stylish transitions. These finishing touches can elevate your content, making it more engaging and visually polished. When you’re happy with the final result, tap the export button to save your edited video in high quality.
InShot’s intuitive interface makes it easy for both beginners and experienced editors to apply these advanced effects. With some creative experimentation, you can develop a unique visual style that captivates your audience and sets your content apart on platforms like YouTube, Instagram, and TikTok.
Tips for Enhancing the Overall Quality of Your Edited Videos with HDR and Brown CC Effect
To enhance the visual quality of your videos using the HDR and Brown CC effects in InShot, it’s essential to apply these tools strategically for the best results. Begin by adjusting the intensity of each effect with care—subtlety is key. Overusing HDR or Brown CC can overpower the natural tones of your footage, so aim for a balanced look that enhances vibrancy without sacrificing realism.
Lighting plays a crucial role when working with HDR effects. For optimal results, use well-exposed clips where details in both highlights and shadows are visible. Fine-tuning brightness and contrast levels can further elevate the clarity and depth of your visuals, creating a crisp, high-quality appearance across all viewing platforms.
As you apply the Brown CC effect, experiment with various color tones, warmth, and saturation levels to achieve the cinematic aesthetic you’re aiming for. Take your time to test different combinations—each video may require a unique touch to achieve the perfect color grading.
Another professional tip is to apply HDR and Brown CC effects selectively to specific scenes or sequences instead of using them uniformly across the entire video. This selective approach can create a more engaging and dynamic viewing experience, allowing you to highlight important moments and enhance storytelling visually.
By thoughtfully combining these techniques, you can produce polished, captivating videos that stand out on social media platforms like YouTube, Instagram, and TikTok—all with the convenience of mobile editing through the InShot app.
Common Mistakes to Avoid When Using HDR and Brown CC Effect in Inshot
When using HDR and Brown CC effects in InShot, it’s important to avoid a few common mistakes that can compromise the quality of your video. One of the most frequent missteps is overusing these effects. While HDR and Brown CC can dramatically enhance your visuals, applying them too heavily can result in an unnatural, overly processed look that detracts from the viewer experience.
Another critical error is neglecting proper lighting. Both HDR and Brown CC effects rely heavily on well-lit footage to function effectively. Poor lighting can limit the dynamic range and richness these effects are designed to highlight, leading to flat or muddy visuals.
Improper adjustment of effect intensity levels is another issue to watch out for. Finding the right balance is essential—subtle enhancements often produce a more professional result than extreme edits. Fine-tuning brightness, contrast, warmth, and saturation with care ensures your video retains a clean, polished aesthetic without appearing over-edited.
Lastly, don’t overlook the importance of video composition and storytelling. Even the most beautifully color-graded footage can fall short if your video lacks clear structure or visual direction. HDR and Brown CC effects should complement your narrative—not distract from it.
By avoiding these common pitfalls, you’ll be able to create visually compelling videos that feel both cinematic and authentic, helping your content stand out across platforms like YouTube, Instagram, and TikTok.
Read more: Top Hyper Smooth Slow Motion Video Editing Apps – Best Slow Motion Video Editor
Understanding HDR and Brown CC Effects
HDR, or High Dynamic Range, is a technique that enhances the range of color and contrast in a video. It brings out details in both the brightest highlights and the darkest shadows, making footage appear more vivid and lifelike. HDR works best with well-exposed video clips and contributes to a balanced, professional finish.
Brown CC (Color Correction) effects focus on infusing warm, earthy tones into the video. This grading style adds richness and emotional depth, particularly effective in travel vlogs, cinematic scenes, and lifestyle content. Brown tones provide a timeless aesthetic that resonates well with viewers looking for a grounded and artistic visual experience.
Getting Started with InShot
To begin editing, launch the InShot app and import your chosen video. The platform supports high-resolution formats and offers a range of adjustment tools. Tap on the “Adjust” feature at the bottom of the screen, which opens up a series of manual settings. These are essential for customizing brightness, contrast, saturation, warmth, shadows, and highlights—key elements for both HDR and Brown CC effects.
Achieving the Brown CC Effect
After configuring the HDR elements, shift focus to achieving the Brown CC look. This effect is largely driven by the warmth and saturation settings. Increase the warmth to introduce golden and brown hues, which lend a vintage and cinematic style to the footage. Adjust saturation downward slightly to mute overly vivid tones, creating a cohesive and soft color palette.
You can also tweak the tint and temperature settings to further align the video with your desired color tone. If available, use custom filters or LUTs (Look-Up Tables) that emphasize brown tones. InShot offers pre-set filters, some of which may naturally lean into the brown spectrum. Layering manual adjustments with filters allows for more nuanced color grading.
Frequently Asked Questions
What are HDR and Brown CC effects in video editing?
HDR (High Dynamic Range) enhances the contrast and color range in videos, making visuals appear more vibrant and detailed. Brown CC (Color Correction) adds warm, earthy tones, creating a cinematic, moody aesthetic that’s perfect for lifestyle, travel, and storytelling content.
Can I create HDR and Brown CC effects using InShot?
Yes, InShot provides all the manual adjustment tools needed to replicate HDR and Brown CC effects. By tweaking settings like brightness, contrast, shadows, highlights, warmth, and saturation, you can achieve professional-looking results right from your mobile device.
Which InShot settings should I adjust for HDR effect?
To create an HDR look, focus on enhancing brightness and contrast while carefully balancing shadows and highlights. Slightly increasing saturation can also help make colors pop, contributing to a vivid, high-dynamic-range finish.
How do I achieve the Brown CC effect in InShot?
For a Brown CC effect, adjust the warmth to introduce golden-brown tones and lower saturation to create a soft, cohesive color palette. You can also apply filters with warm hues and fine-tune temperature and tint for more depth and consistency.
What kind of videos benefit most from HDR and Brown CC effects?
These effects work well in cinematic scenes, vlogs, travel videos, and storytelling content where visual emotion and depth are important. They help create a mood, highlight details, and add a polished, cinematic layer to the footage.
Do I need professional lighting to use these effects effectively?
Good lighting is highly recommended. HDR effects rely on balanced exposure to bring out details, while Brown CC effects look best with naturally lit or softly lit footage. Well-lit scenes ensure better color grading results during editing.
Can I save my HDR and Brown CC settings in InShot for future use?
While InShot doesn’t currently support custom presets or LUTs, you can manually replicate your favorite settings by noting the values of each adjustment. This helps maintain consistency in your editing style across multiple videos.
Conclusion
Mastering HDR and Brown CC effects in InShot significantly enhances the quality and emotional impact of your videos. These tools allow you to create vibrant, cinematic visuals that captivate viewers and elevate your content. By carefully adjusting brightness, contrast, warmth, and saturation, you achieve a polished and professional look. Consistent practice and attention to lighting and composition are key to mastering these effects. Incorporate these techniques to make your videos stand out across social media and video platforms.